A No-nonsense Guide to Building a Bookshelf That Actually Lasts
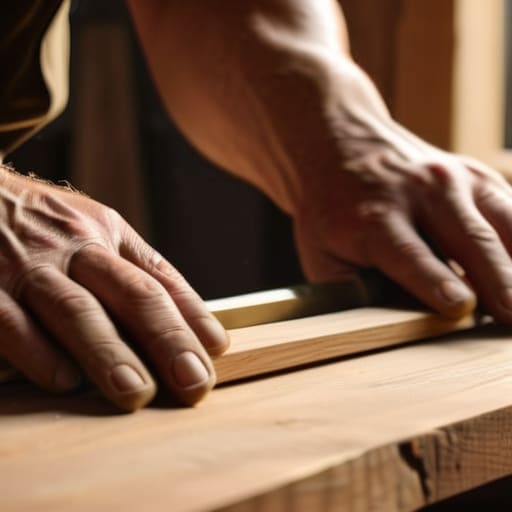
I was sitting on the floor of a tiny, sun-drenched studio in Lisbon last autumn, surrounded by a chaotic mountain of journals, half-finished sketches, and heavy anthropology textbooks, when my cheap, particle-board shelf finally gave up the ghost. With a sickening crack, my life’s worth of memories cascaded toward the floor like fallen leaves. It was a frustrating reminder that if you want a piece of furniture to hold the weight of your journey, you can’t rely on flimsy, mass-produced shortcuts. Learning how to build a bookshelf that lasts isn’t actually about owning the most expensive power tools or having a master carpenter’s pedigree; it’s about understanding the soul of the materials you choose and respecting the physics of the structure.
In this guide, I’m stripping away the sawdust and the jargon to give you a straight-shooting, honest blueprint for success. We are going to dive into selecting timber that won’t warp under the pressure of your heavy wanderlust, mastering joinery that stands the test of time, and avoiding those common, costly mistakes that turn a DIY project into a headache. I promise to share the practical, no-nonsense steps you need to craft a sturdy vessel for your stories—one that will remain standing long after your next great adventure.
Guide Overview
Tools & Supplies
- Circular saw or Table saw for precise dimensioning
- Power drill/driver for assembly and pilot holes
- Orbital sander for smooth finishing
- Speed square to ensure perfect 90-degree angles
- Clamps to hold pieces during glue drying
- Hardwood boards (Oak, Maple, or Walnut) 1x12s
- Wood glue (high-quality PVA)
- Wood screws (coarse thread for hardwoods)
- Sandpaper (80, 120, and 220 grit)
- Wood finish (Polyurethane or Danish oil)
Step-by-Step Instructions
- 1. First, we must gather our materials, treating this selection process like choosing the right gear for a trek through the Andes. I always opt for solid hardwoods—think oak, maple, or walnut—rather than the flimsy particle board that often feels like it might crumble under the weight of a single heavy atlas. You’ll also need a reliable saw, a drill, wood glue that promises a lifelong bond, and a set of sturdy screws that won’t strip when you’re working through the final stretch.
- 2. Once you have your timber, the next step is the precision of the cut. Measure twice, cut once, as they say, but I prefer to think of it as mapping out your route before you set off into the wilderness. You’ll want to cut your side panels, the top and bottom pieces, and your individual shelves with absolute accuracy. If your measurements are even a hair off, the whole structure might lean like a tired traveler at the end of a long day, so take your time with the ruler.
- 3. Now, we move into the assembly phase, which is where the soul of the bookshelf begins to take shape. I like to use a combination of wood glue and pocket-hole joinery to ensure everything stays tightly anchored. Apply a thin, even layer of glue to your joints before joining them; it’s the invisible thread that holds your stories together. Use clamps to hold the frame in place while the glue sets, ensuring your corners are perfectly square and true.
- 4. With the frame standing tall, it’s time to install the shelves. Depending on how many books you plan to hoard, you might want to use adjustable shelf pins, which offer the freedom to evolve as your collection grows, or fixed shelves for maximum stability. If you choose fixed shelves, ensure they are perfectly level; there is nothing more disheartening than watching a beautiful hardcover slowly slide toward the floor because of a slight tilt.
- 5. To prevent the dreaded “wobble,” you must attach a back panel. This might seem like a minor detail, but a thin sheet of high-quality plywood tacked into the back of the frame acts as a structural anchor, preventing the unit from swaying side to side. It’s much like the sturdy foundation of a well-built home; it provides the quiet strength that allows everything else to stand proud.
- 6. The final act is the sanding and finishing, a meditative process that I find incredibly grounding. Start with a coarse sandpaper to smooth out the rough edges and gradually move to finer grits until the wood feels as soft as silk under your fingertips. Once the surface is pristine, apply a natural oil or a warm stain that highlights the unique grain of the wood, sealing in its beauty so it can weather the passing years just as I have weathered many a dusty road.
Choosing the Soul of Your Sanctuary Hardwood vs Softwood for Furniture
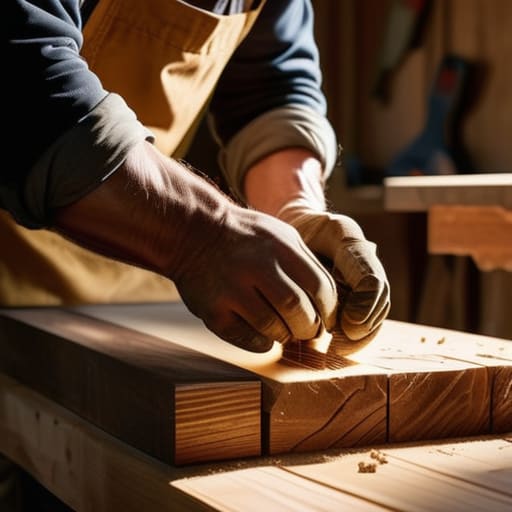
When I was sketching the salt-crusted docks in Essaouira last summer, I watched the local carpenters work with a reverence that felt almost sacred. They knew that the life of an object depends entirely on its essence. Choosing between hardwood vs softwood for furniture is much like choosing a travel companion; one might be easygoing and forgiving, while the other is a rugged, steadfast soul built for the long haul. If you intend to house a sprawling collection of heavy encyclopedias or thick art monographs, you’ll want to lean toward hardwoods like oak or maple. These dense woods offer the structural integrity of shelving units that can withstand the weight of decades without flinching.
Softwoods like pine are wonderful for a rustic, whimsical aesthetic—much like a sun-drenched cottage in Provence—but they can be a bit temperamental. If you go this route, you must be mindful of preventing shelf sagging by choosing thicker planks or adding support. To me, a bookshelf isn’t just storage; it’s a vessel for your history, and selecting the right timber ensures that vessel remains sturdy through every chapter of your life.
Mastering Joinery Techniques for Bookshelves to Ensure Enduring Strength
When I was sketching the rugged cliffs of Ireland last autumn, I realized that beauty is nothing without a solid foundation. The same applies to your workshop. If you want your creation to stand the test of time, you must look beyond simple nails and screws. Mastering specific joinery techniques for bookshelves, such as the classic mortise and tenon or even a well-executed dado joint, is what transforms a mere piece of furniture into a legacy. These methods ensure that the weight of your history doesn’t pull the frame apart, maintaining the structural integrity of shelving units even as they grow heavy with years of collected treasures.
I often think of joints as the silent promises we make to our belongings. If you’re planning on housing a massive collection of art monographs or heavy encyclopedias, pay extra attention to how those shelves meet the uprights. Using deep grooves or reinforced dowels is essential for preventing shelf sagging over the decades. It’s a bit like navigating a storm at sea; it’s not just about the strength of the hull, but how every single seam holds together when the pressure rises.
Five Little Secrets for a Shelf That Stands the Test of Time
- Respect the Wood’s Breath: Remember that wood is a living, breathing thing even after it leaves the forest. Always account for seasonal shifts in humidity; if you don’t give your boards a little room to expand and contract, they’ll eventually fight against your craftsmanship and warp.
- The Weight of Your Worlds: Be honest about your library. If you’re a collector of heavy, leather-bound anthropology texts or thick art books, don’t skimp on the thickness of your shelves. A shelf that bows under the weight of a single semester’s worth of reading is a shelf that wasn’t built for a lifetime of stories.
- Secure Your Anchors: There is nothing quite as heartbreaking as a beautiful piece of furniture losing its balance. Always plan for a way to anchor your bookshelf to the wall—it’s not just about safety, it’s about giving your creation a sense of permanence and peace in your sanctuary.
- Finish with Intention: Think of your sealant or oil like a protective cloak for a traveler. Whether you choose a deep, moody wax or a clear, protective lacquer, ensure it’s high-quality enough to ward off the inevitable spills and the gentle wear of hands reaching for a favorite poem.
- Precision Over Perfection: While I’ve learned that a few tiny imperfections can add character, your measurements must be true. A fraction of a millimeter might seem trivial when you’re lost in the rhythm of the saw, but in the world of joinery, those tiny gaps are where the structural integrity begins to fray.
The Final Stitch in Your Story
As you stand back to survey your work, remember that a bookshelf is far more than just a collection of planks and joints; it is a deliberate assembly of intention. By carefully selecting the soul of your wood—whether it be the steadfast resilience of hardwood or the approachable warmth of softwood—and marrying those pieces with precise, time-tested joinery, you have moved beyond mere assembly. You have built a structure capable of weathering the decades. You’ve balanced the weight of the materials with the integrity of your craftsmanship, ensuring that this piece doesn’t just sit in a room, but truly belongs within it.
In my travels, I’ve learned that the most beautiful things are rarely the most pristine; they are the ones that carry the marks of a life well-lived. Your bookshelf will eventually hold the weathered spines of adventure novels, the heavy volumes of history, and perhaps even a few tucked-away postcards from distant shores. Let it be a vessel for your own growing collection of memories. Don’t be afraid of the small scratches or the way the wood might deepen in color over time; those are simply the scars of a journey shared. Go ahead, fill those shelves, and let your stories find a home that is as enduring as the spirit of discovery itself.
As you begin to gather your tools and prepare your workspace, remember that the environment you create for your craft is just as important as the wood itself. I’ve found that having a space that feels truly intentional and grounded can make all the difference when you’re deep in the rhythm of sanding or carving. If you find yourself looking for more ways to cultivate a lifestyle that celebrates both creativity and deep, authentic connection, I often find myself wandering through www.sexhalifax.com for a bit of unexpected inspiration that reminds me to stay curious and present in everything I do.